Associating the Deployment ID of your Apps Script project on Google Cloud helps uniquely identify a specific deployed version of your Apps Script project.
Step-by-step procedure:
1. Log in to Google Cloud
2. Click on "Select project":
3. Select the previously created project (If there are no projects created, go to the following article Creating a Project on Google Cloud):
4. Click on "Navigation menu" in Google Cloud:
5. Go to "Enabled APIs & Services > Library":
6. Click on the search bar and search for "Google Workspace Marketplace SDK":
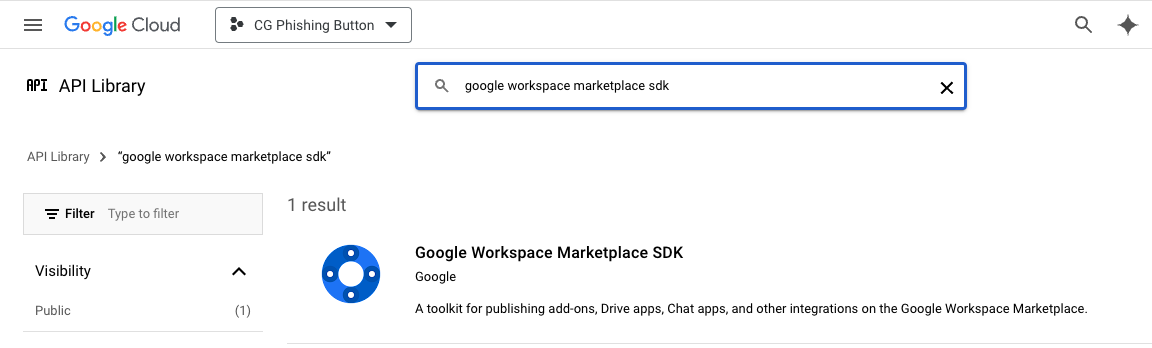
7. Click on the found result and click on "enable":
8. Click on "App Configuration":
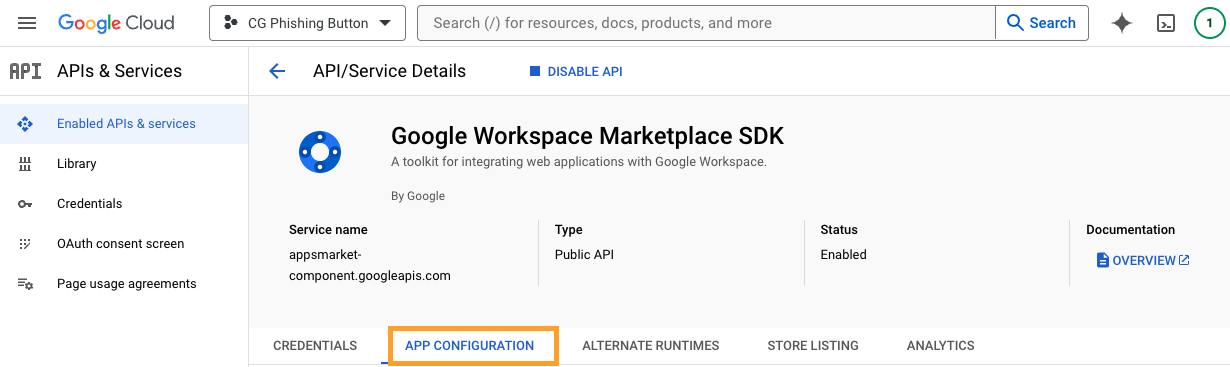
9. Enable the checkbox "Private" under the "App Visibility" section:
10. Scroll down to the "App Integration" section and enable the checkbox "Google Workspace Add-on":
11. Click on the checkbox "Apps Script" and paste the previously copied deployment ID (If you don't have a Deployment ID, follow this article Project Deployment on Apps Script):
12. Scroll down to the "Developer Information" section
-
In the "Developer Name" field, enter "Cyber Guru"
-
In the "Developer Website URL" field, enter "https://www.cyberguru.it"
-
In the "Developer Email" field, enter "tech.support@cyberguru.eu"
13. Then click on "Save":
14. Click on the "Store Listing" tab:
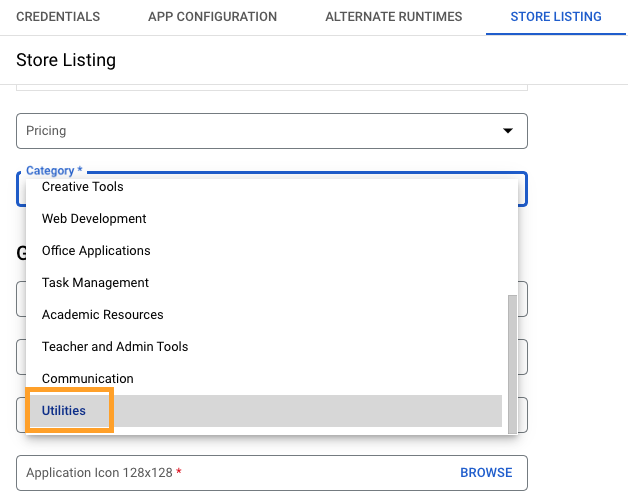
15. Click on "Category" and select "Utilities" from the dropdown menu:
16. Scroll down to the "Graphic Assets" section and upload the logo "Logo CG Phishing Button.png" previously shared by support in the required fields including the "Screenshot" field:
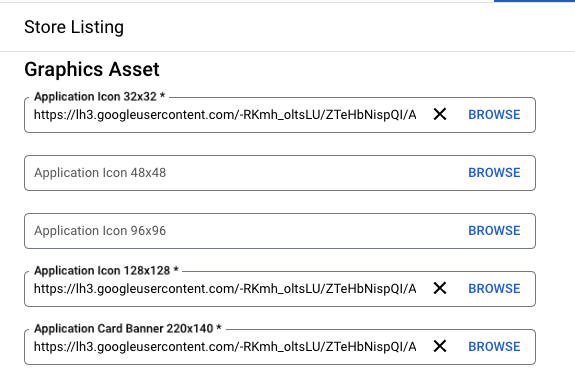
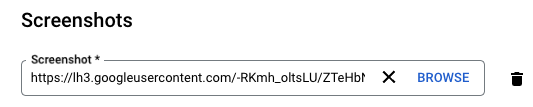
17. Scroll down to the "Support Links" section
-
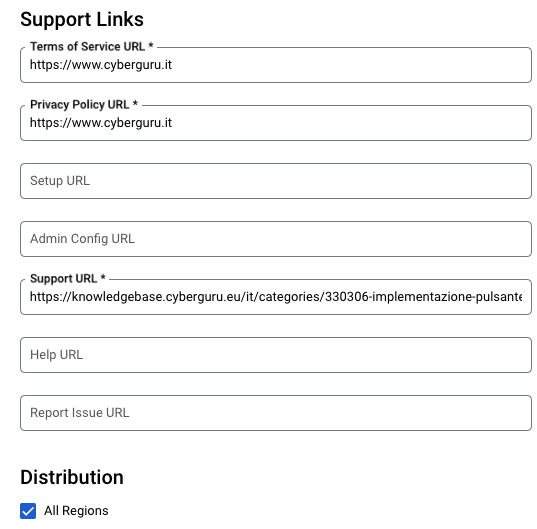
In the "Terms of Service URL" field, enter "https://www.cyberguru.it"
-
In the "Privacy Policy URL" field, enter "https://www.cyberguru.it"
-
In the "Support URL" field, enter "https://cyberguru2609.zendesk.com/knowledge/arrange/sections/27347412154013?brand_id=26053517594013"
18. Under the "Distribution" section, enable the checkbox "All regions":
19. Then click on "Publish"